Whether upgrading a tabletop, tuning a guitar neck, smoothing auto body filler, or deburring machine parts, the right sandpaper turns rough surfaces into refined finishes. It’s more than paper with grit—modern abrasives are engineered systems combining minerals, binders, and backings that perform differently on wood, metal, plastics, paint, and composites. With a thoughtful approach to grit progression, material choice, and technique, you can work faster, extend tool life, reduce dust, and achieve consistent, professional-looking results. For convenience, a wide range of sheets, discs, belts, and specialty abrasives are available from trusted online sources; find a complete selection of sandpaper to match almost any task and tool you use in the shop, jobsite, or garage.
Understanding Grits, Abrasives, and Backings
The first step to choosing sandpaper is decoding grit and abrasive type. Grit indicates particle size: lower numbers like 24–60 are coarse and remove stock quickly; 80–120 are general-prep; 150–220 refine surfaces; 320–600+ deliver fine finishing and surface leveling before polishing. You’ll see two common standards: CAMI (U.S.) and FEPA “P-grit” (Europe). A P320 isn’t exactly the same as CAMI 320, so when process control matters (e.g., auto finishing or instrument making), stick to one grading system to avoid surprise scratch depths.
Abrasive minerals shape performance. Aluminum oxide is a versatile workhorse for wood and metal, fracture-tough for long life. Silicon carbide is sharper and more brittle, ideal for hard substrates and wet sanding applications like glass, stone, plastics, and automotive clear coats. Garnet tends to leave a clean finish on wood and wears predictably for subtle refinement, making it handy for hand sanding between coats. For aggressive material removal, ceramic and zirconia alumina excel; they self-sharpen under pressure and shine on belts or discs for metalwork and heavy stock removal.
Coating style affects cut and loading. Open-coat papers have more space between grains, reducing clogging in soft woods, paint, and resinous materials. Closed-coat packs grains tightly for faster, cleaner cuts in harder materials. Stearate (anti-loading) coatings further resist clogging on finishes and gummy substrates; they’re a go-to for sanding painted surfaces or resin-heavy pine. Bonding resins matter too: modern heat-resistant resins maintain grit adhesion during power sanding, reducing premature shedding and inconsistent scratches.
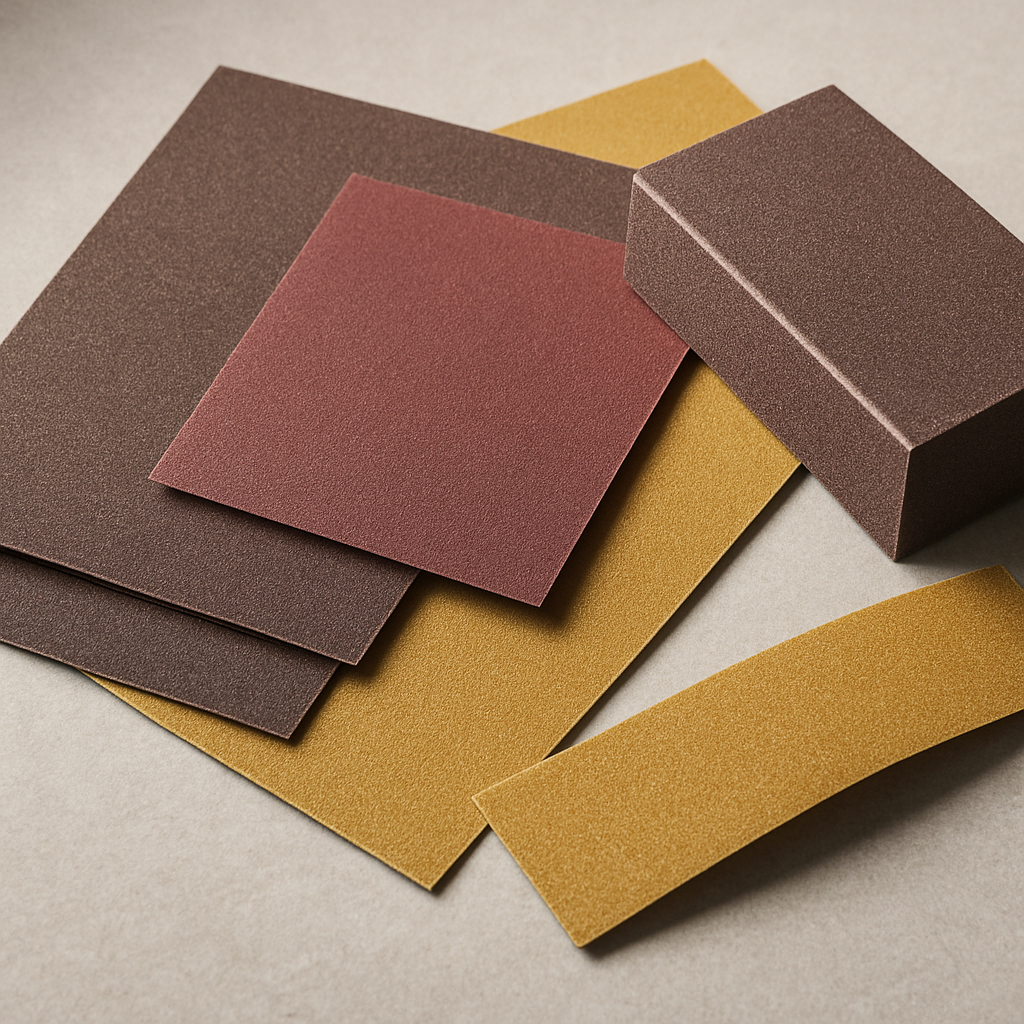
Backing determines flexibility, durability, and feel. Paper backings range from lightweight A/C-weight (great for hand finishing and contours) to sturdier D/F-weight for power sanding. Film-backed abrasives provide uniform thickness, helping reduce random-orbit “pigtails” and delivering ultra-consistent scratch patterns—popular in auto finishing and high-gloss work. Cloth backings (J-weight for flexible, X-weight for tough) power belts and flap wheels, offering tear resistance. Mesh abrasives pair with dust extraction for remarkable cleanliness while maintaining cut rate. Foam-backed sanding sponges conform to profiles and edges, excellent between coats on trim and cabinetry. Matching the backing to the job and tool—hand block, random-orbit sander, belt sander—keeps results predictable and repeatable.
Choosing the Right Sanding System for Wood, Metal, Auto Body, and Plastics
For wood, think in terms of grain, species, and finishing target. On softwoods like pine or fir, begin around 80–100 grit to flatten mill marks without tearing grain, then move to 120–150 for shaping and 180–220 for finish prep. Many film finishes (including water-based) benefit from stopping at 180–220 before the first coat; going too fine can burnish fibers and reduce adhesion. On hardwoods like oak or maple, start at 80–100 for rough stock, progress through 120–150, and finish at 180–220. Veneers demand caution: begin finer (120–150), use light pressure, and maintain a fresh abrasive to avoid sand-through. For water-based finishes that raise grain, scuff-sand post first coat with 320–400, using a light touch and a sanding block to maintain flatness. For end grain, use a slightly finer final grit than face grain to minimize absorption contrast under finish.
In metalwork, match mineral to the task. Zirconia or ceramic belts excel for heavy stock removal, edge chamfering, and weld blending on steel. Move to aluminum oxide or ceramic flap discs for smoothing, then silicon carbide sheets or film for fine finishing. On aluminum, use stearated or dedicated non-loading abrasives to reduce clogging; for stainless steel, keep a clean workflow to avoid carbon steel contamination. Wet sanding (with silicon carbide) helps manage heat and carry away swarf when refining tool marks or preparing for polishing. Always step down methodically—e.g., 80 to 120 to 180 to 240—rather than skipping big jumps; consistent scratch depth shortens overall time to reach a polishable surface.
Auto body and coatings work reward attention to uniform scratch patterns. To remove orange peel or level clear coats, use 1000–1500 grit wet, move to 2000–3000 before compounding, and use an interface pad on a DA sander to maintain even pressure over contours. Feathering paint edges often starts around 220–320, stepping through 400–600 before primer. Dry-guide coats reveal remaining low spots before you commit to paint. Film-backed discs reduce rogue deep scratches, while stearated papers prevent loading on primers and base coats. Between coats of lacquer or polyurethane on cabinetry or trim, scuff with 320–400 using a foam-backed pad; this lightly abrades without cutting through edges.
For plastics and 3D prints, heat management is critical. Use light pressure, keep speeds moderate, and consider wet sanding with silicon carbide to prevent melting or smearing. Start around 220–320 on printed layers, then move to 400–600 and beyond for optical clarity on acrylics. Avoid aggressive grits on thin edges to prevent rounding. In all scenarios—wood, metal, coatings, plastics—plan a logical grit ladder, use fresh abrasives at each step, and let the abrasive do the work. This minimizes burnishing, swirl marks, and time wasted trying to polish out oversize scratches left by a skipped step.
Techniques, Troubleshooting, and Safety for a Professional Finish
Technique matters as much as product. Keep pressure light to moderate; excessive force causes heat, clogs the abrasive, and digs unpredictable scratches. With a random-orbit sander, let the pad spin freely; pressing too hard stalls the orbit, creating visible “pigtails.” Work systematically: overlap passes by about one-third, vacuum or wipe the surface between grits to prevent rogue particles from scoring deeper lines, and sand with the grain when hand-finishing wood to minimize cross-grain visibility under stain. Use sanding blocks or hard pads to keep flat panels flat; add interface pads for contours and profiles to avoid cut-throughs on edges.
Dust control isn’t just cleanliness—it’s performance and health. Dust extraction through multi-hole discs dramatically reduces loading and preserves cut rate. Connect the sander to a vac with a fine filter, and align disc holes carefully for maximum airflow. On site, a contractor smoothing doors between coats might pair mesh abrasives with a HEPA vac to keep work areas clean and reduce rework from dust nibs landing back on wet finishes. In a small repair shop, a simple crepe rubber block revitalizes clogged papers, extending life and lowering costs. Store abrasives flat, dry, and out of humidity; curled or damp sheets cut unevenly and wear faster, while adhesives on PSA discs can fail in heat.
Troubleshooting scratches begins with lighting and sequence. Use raking light or a guide coat to reveal swirls after each grit. If you see persistent marks at 220, don’t move up—drop back one grit, remove them fully, and then resume. Film-backed options help reduce outlier deep scratches. If you’re battling softwood loading, switch to open-coat or stearated sheets, reduce pressure, and clean frequently. For stubborn “pigtails” on auto clear, slow the tool speed, lighten pressure, ensure the pad is flat, and confirm you’re using high-quality film or ceramic discs with appropriate hole patterns. When hand sanding between coats, a very light touch with 320–400 is enough; pressing harder only risks going through at edges.
Real-world snapshots illustrate best practices. A facilities tech refreshing rusted stair rails might start with 80-grit zirconia flap discs to knock back corrosion, step to 120–180 for smoothness, wipe clean with solvent, then prime and topcoat—no more blistering paint a week later. A cabinetmaker in a humid coastal shop keeps abrasives sealed and swaps to mesh for better airflow, cutting down on clogging from moisture-laden sanding dust. A hobbyist detailing 3D prints uses silicon carbide wet from 320 through 2000, then buffs to a gloss, avoiding heat that distorts PLA. Each scenario leverages the same core principles: exact grit choice, controlled pressure, and clean, consistent scratch patterns.
Don’t neglect safety. Fine dust from wood, metal, and composites poses respiratory hazards. Wear appropriate protection: a dust mask or, better, a respirator rated for the material, plus eye and hearing protection when power sanding. Gloves can help during metalwork but avoid loose fabric near moving belts. For wet sanding, keep water away from powered tools not designed for it, and dry parts thoroughly before finishing. Sustainable habits also pay off: selecting long-life ceramic or film-backed abrasives reduces waste, while efficient dust capture protects both health and finish quality. Label and organize your grits, retire dull sheets early, and maintain a disciplined progression. The payoff is a faster workflow and a flawless, repeatable finish that looks as good under bright daylight as it does on the bench.
Thessaloniki neuroscientist now coding VR curricula in Vancouver. Eleni blogs on synaptic plasticity, Canadian mountain etiquette, and productivity with Greek stoic philosophy. She grows hydroponic olives under LED grow lights.